Last Updated on June 13, 2021 by smiling-coffee-snob
While Fellow’s Aeropress attachment can’t replicate true espresso, it’s the best option I’ve found for making a machine-free shot at home. Plus, it gives you a way to replicate the inverted brewing method without the risk.
To help you figure out whether you should add the Fellow Prismo to your Aeropress, I’ll introduce the basics of what the Prismo is, what you can reasonably expect it to do, and what I’ve learned after using it for over a year.
(I did NOT receive the Fellow Prismo for free. I bought it on my own and have been using it for more than a year. However, some of the links in this post are affiliate links and if you choose to make a purchase through these links I receive a small commission at no extra cost to you.)
What is the Fellow Prismo?

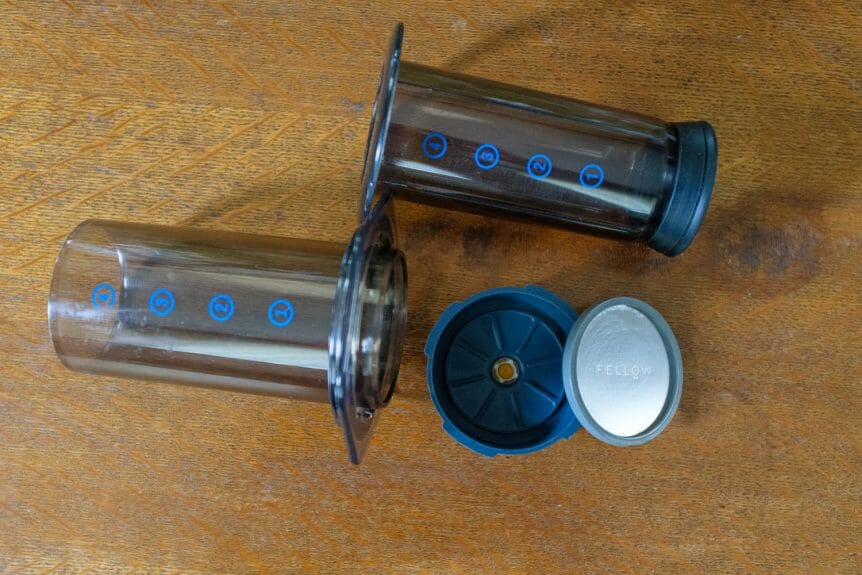
![]() Let’s start with the basics.
Let’s start with the basics.
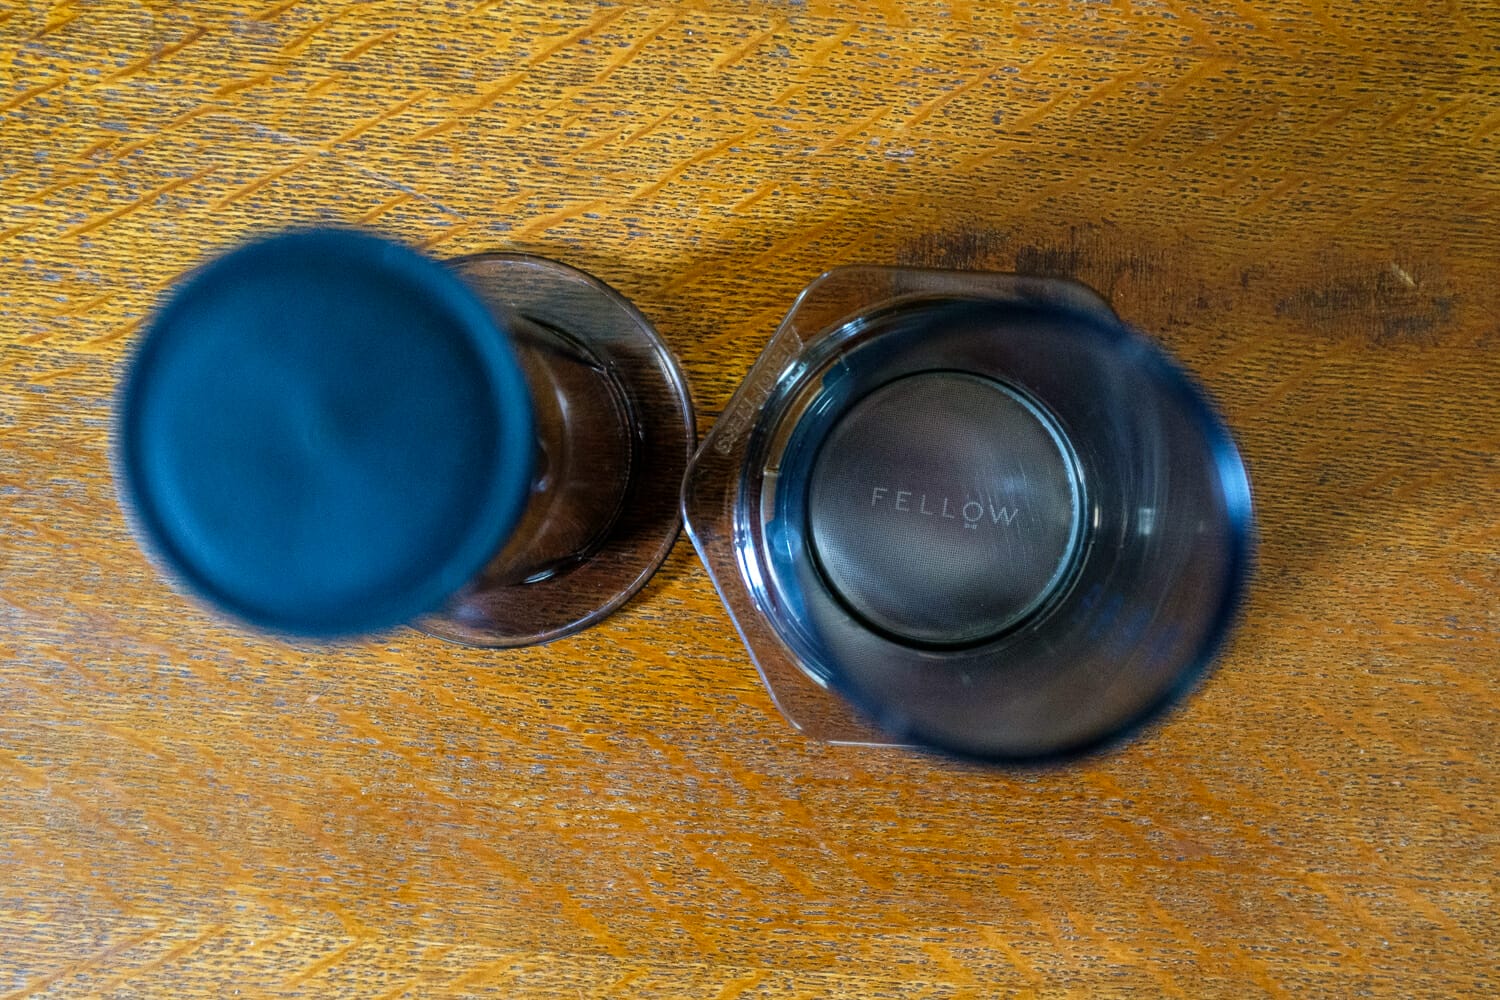
Fellow is a San Francisco based company that’s best known for their coffee kettles, but has branched out into a wide range of specialty coffee gear, like the Prismo. You attach the Prismo to the bottom of an Aeropress as an alternative to the standard Aeropress piece. It has a re-usable metal filter with a rubber seal that fits inside and a pressure activated valve with a single opening on the outside.
Put this all together and you increase the amount of pressure that the Aeropress uses to replicate what an espresso machine does. Since this is still far from what a machine can do, Fellow recommends heavily stirring the coffee grounds to compensate for the limited pressure.

Can the Fellow Prismo get real espresso out of an Aeropress?
If you’re expecting something like what you’d get at your local coffee shop then the short answer is no. You just can’t replicate the amount of pressure that an espresso machine produces. But, with the Prismo you can make a concentrated dose of coffee that’s surprisingly close—if you follow the detailed instructions on how to do it.
Fellow recommends a ratio off 20g of coffee to 50g of boiling water. Add all the water in 10-20 seconds, stir vigorously for another 20-30 seconds, and then plunge at 60 seconds.
My experience:
I’ve followed Fellow’s recommendation of plunging with a lot of pressure and maintaining it all the way through. This does gets the best results, but it’s easy to mess up, and it’s important to use a strong cup and appropriate surface. Plunging is much more difficult than normal and the finer the grind, the more challenging it is.
The shot is strong, flavorful, and close to a standard espresso shot when done right. If you make a mistake, it’s still decent, but the difference is noticeable. I can get crema sometimes, but only if I do everything just right.
The same ratio works for 30g of coffee to 75g of water, too, but it requires more trial and error to get the grind and temperature right. For anything more than that it’s better to do two shots back to back.
Go beyond espresso
While the Prismo does a surprisingly good job of making an espresso-like drink, the thing that I really like about it is the versatility it adds to the Aeropress. The combination of a metal filter, pressure actuated valve, and overall solid design create a lot of possibilities.
Here’s what’s most unique about the Fellow Prismo:
- It has a reusable metal filter that fits snuggly on the Aeropress
The metal filter transforms the Aeropress into something resembling the French Press and other immersion brewers. I cover this in more detail in my French Press guide, but the basic difference between a metal filter and a paper filter is that paper removes both the coffee sediment and many of the oils, while metal doesn’t.
Beyond the differences between metal and paper, the Prismo filter has smaller holes than a French Press filter and it’s designed to aerate coffee when it passes through. Combine this with pressure created by the Aeropress and you get a unique brew that can work with any grind you want.
- You control the time
Like I mentioned in my Aeropress tutorial, one of the most popular brewing methods is the inverted method where you attach the plunger, turn the Aeropress upside down, and add the coffee and water through the bottom. While the normal method will start a slow drip once you add water, the inverted method lets you brew as long as you want. Once you’re ready to plunge, you attach the bottom piece and carefully flip it over onto a cup.
With the Prismo you can do the same thing much more easily. Plus, you get the added advantages of a metal filter.
- You can use the Fellow Prismo with a paper filter
This might seem like a strange thing to mention, considering that I started by talking about how great it is to have a metal filter, but the advantage is that you can choose to add a paper filter on top of the metal one for an even cleaner full immersion brew.
 Should you get the Fellow Prismo?
 Should you get the Fellow Prismo?
If you’re looking for a way to make espresso at home without an espresso machine then this is probably the closest you’re going to get. A Moka pot is another great option, but I think the Prismo is closer to espresso and a bit easier to use.
After more than a year, I find that I use it a lot more than I expected to. In fact, I almost never use the original piece that came with the Aeropress because the Prismo can do a full immersion brew without the hassle of the inverted method. I also like to switch between metal and paper to see how it affects the taste of the same coffee beans.
So, if you’re looking for the best way to make espresso at home without a machine, the Prismo is the way to go.